

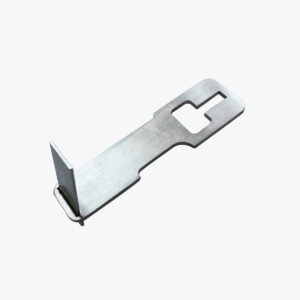
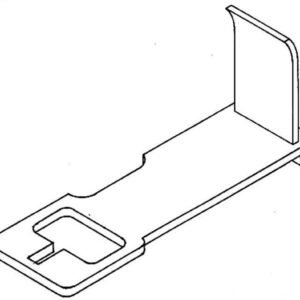
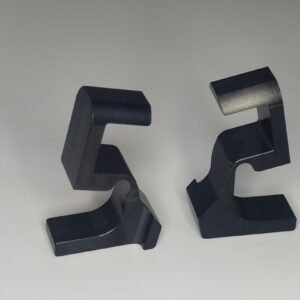
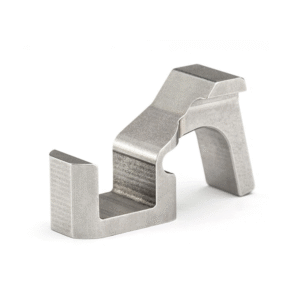
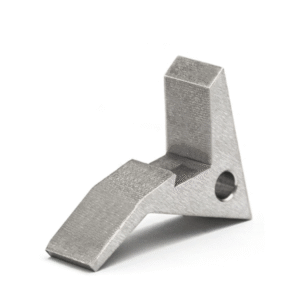
AR Swiftlink Type 3 Switch
Firearms must be shipped to an FFL dealer. Please provide their info at checkout.
$120.00
Installation Made Simple
Upgrading to the Swift link Type 3 Sear is an accessible process, allowing shooters of any skill level to enhance their AR15. Follow these steps to get started:
- Safety First: Confirm that your firearm is unloaded and follow all safety protocols.
- Disassemble the Lower Receiver: Remove the pistol grip and trigger guard to access the trigger mechanism.
- Detach the Trigger: Carefully remove the trigger assembly, taking care not to damage any pins or components.
- Install the Type 3 Sear: Position the AR15 Swiflink Type 3 Sear into its designated slot within the trigger mechanism. Ensure proper seating and alignment of all pins.
- Reassemble the Trigger: Reinsert the trigger assembly into the lower receiver, securing it with the appropriate pins and reattaching the trigger guard and pistol grip.
- Final Check: Conduct a function check to ensure everything is operating smoothly before heading to the range.

Working Mechanism
The AR15 Swift link Type 3 Sear operates on an advanced mechanism that provides quick and reliable firing. Upon pulling the trigger, the Type 3 engages the hammer with minimal travel distance, resulting in a short reset. This allows for faster follow-up shots and improved accuracy, making it an essential addition in the Types of Swift Link family.
Be the first to review “AR Swiftlink Type 3 Switch”
Related products
AR 15 Switches
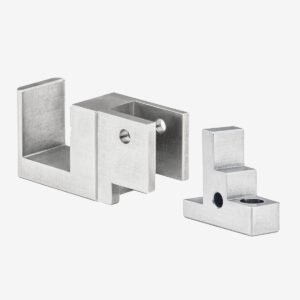
AR 15 Switches
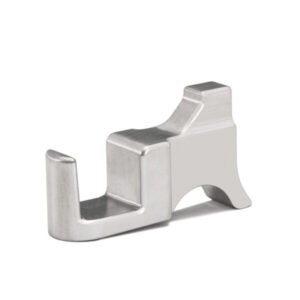
AR 15 Switches
UPGRADE YOUR GEAR: SWIFT FULL STAINLESS STEEL AUTO SWITCH FOR FULL AUTOMATIC CONVERSION
AR 15 Switches
Reviews
There are no reviews yet.